QuickStart — QC Tracking Auto-recognition measurements
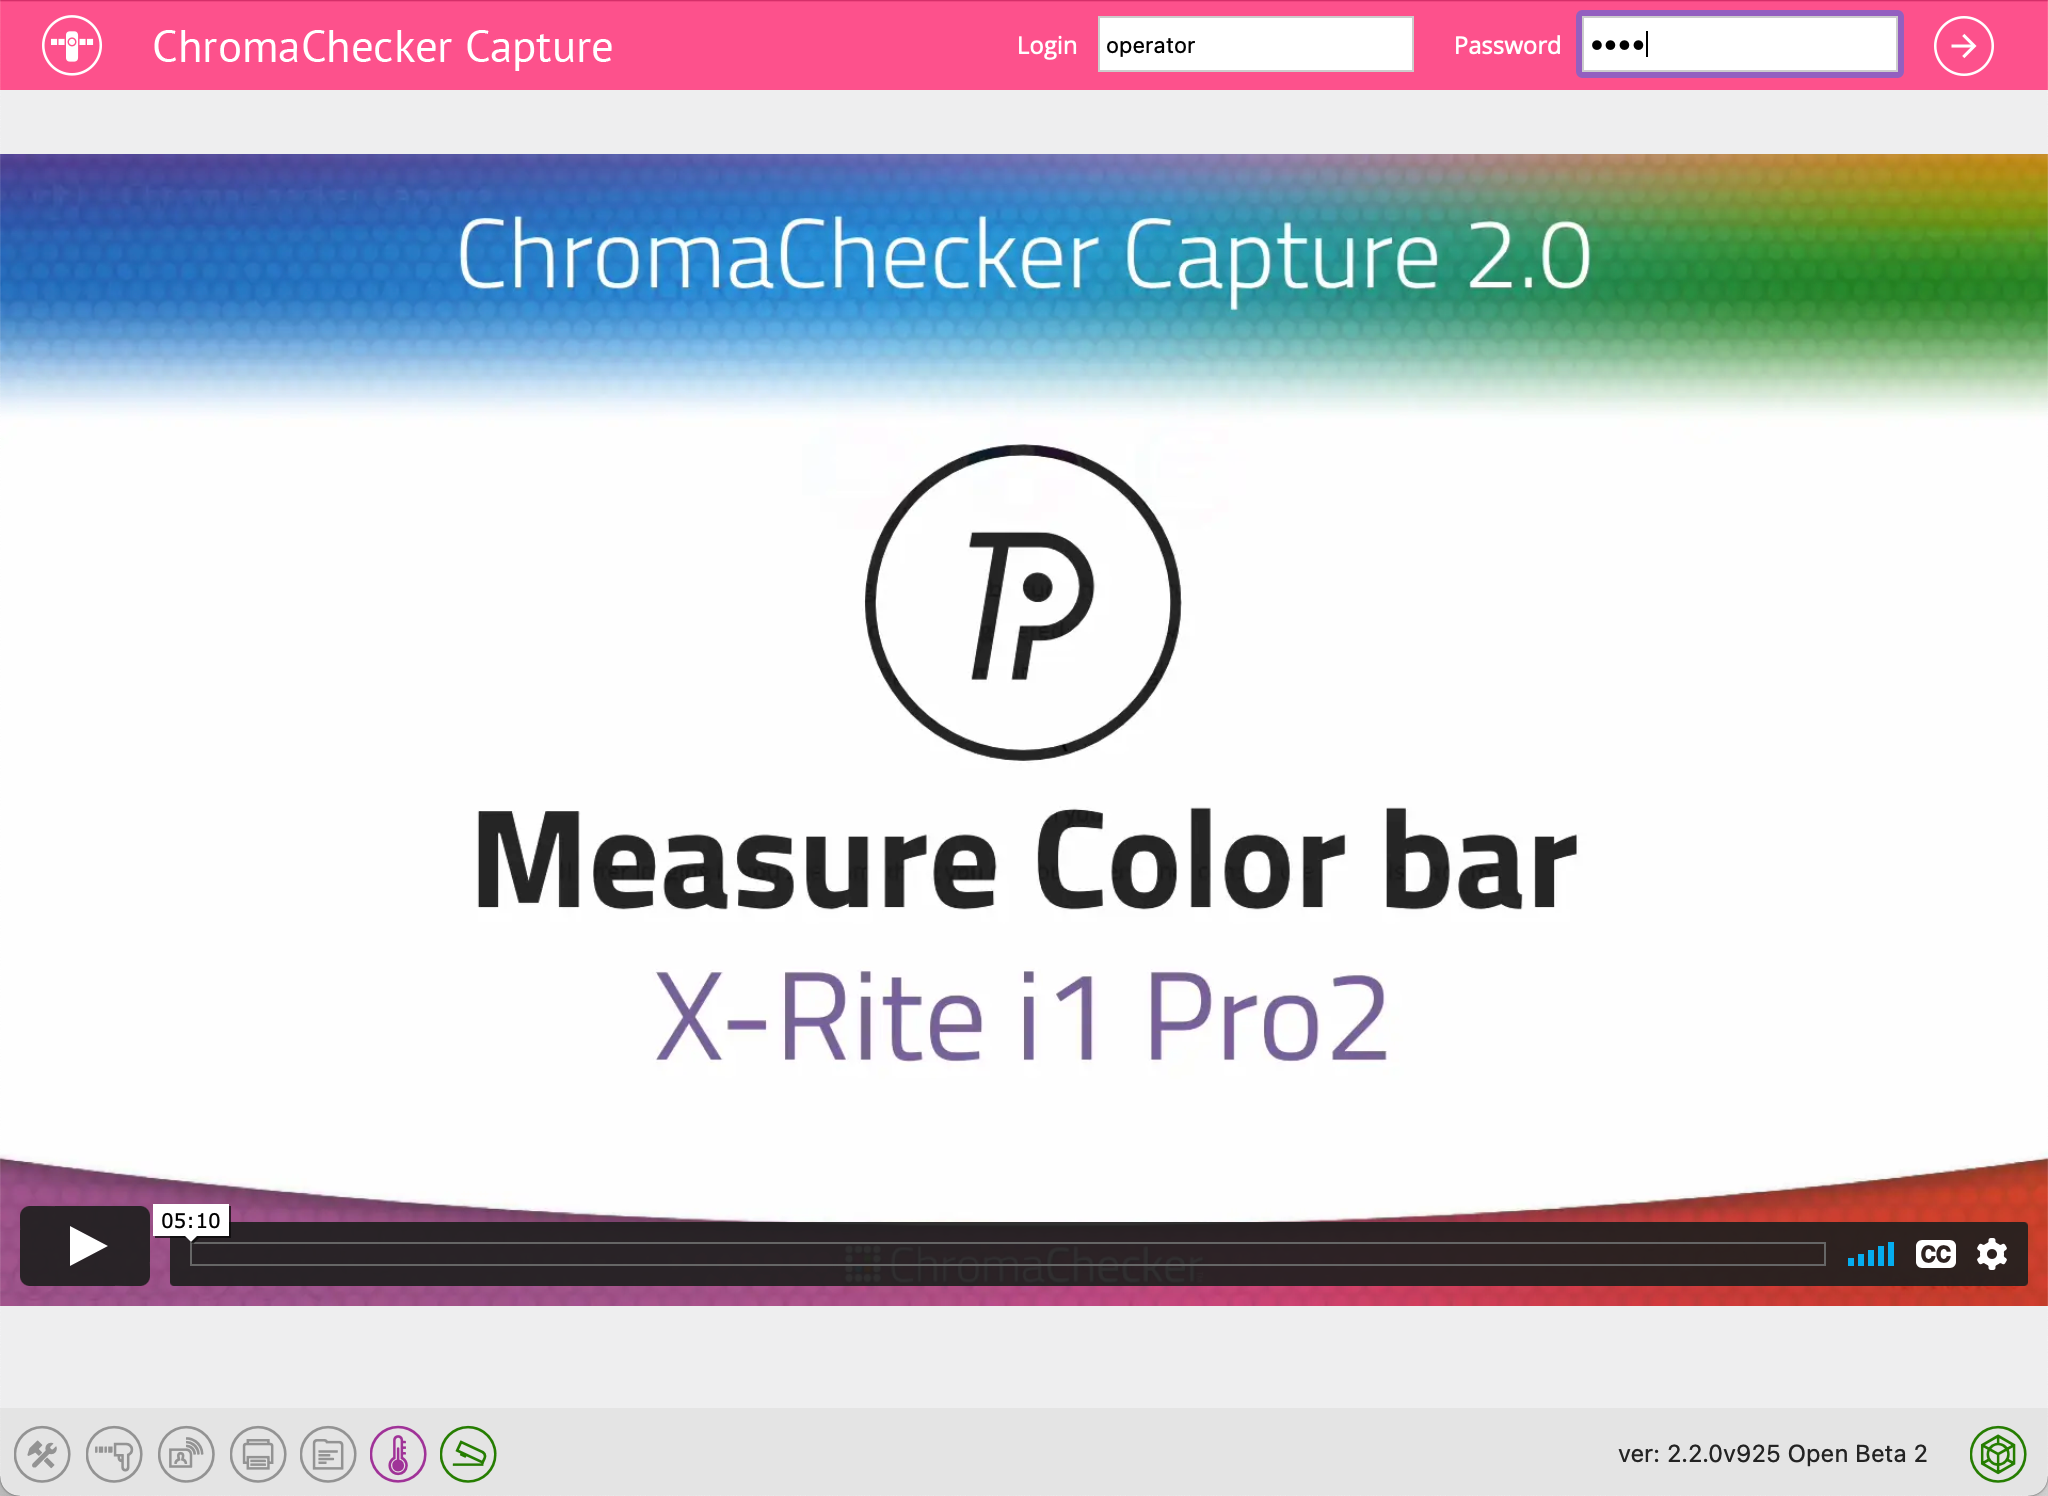
Launch CC Capture with Instrument connected and enter Operator's credentials.
If you don't have an account try Demo credentials:
- Organization: SampleDemo
- Operator's login: operator
- Operator's Password: user
Click on the Color Inspector icon, next select QC Tracking
![]()
Now on the left column, you have to select a product - in this case, let it be "Tracking"
![]()
Please note that your CC Capture is preconfigured and we have created a couple of demo tracks for you. In both Object and Track fields, the Autorecognition feature is active. That means we can measure any color and the application will find the best match of the sample to the reference in the library. Before measuring, set the "Average" to 1 - since it is demonstrating capabilities (skip averaging).
Find a red and blue sample that you can measure. Of course, your red is a different red than defined on the SampleDemo account - but it will demonstrate how the system works.
1. Place Instrument on RED color and select "Measure" (from software or instrument)
The report will look like the following example:
Notice that Color Inspector auto recognized reference for the closest red, and by accident measured RED sample is not very different from Reference one. In this case, Tolerance is based on three conditions:
∆E, ∆L*, and ∆a* and have a very small value of 1 for each (value in brackets)
2. Place the Instrument on the BLUE sample and trigger the next measurement
The report will look like the following one:

The application automatically changed the reference to the blue best match. In this example, an additional ∆b* tolerance condition is added. It is important that each color sample can have a different tolerance definition.
As an operator, we can see that for QC Tracking we have to select products and the system detects the rest automatically.
Of course, it is possible to force manual selection but autorecognition makes QC faster and easier.
At this point, you have added two measurements to an existing track, lets's learn how to create a new track
Contact ChromaChecker Support
Additional information and Support Form is available for logged users.